Todays post we’re revisiting my dream barn in a perfect world where funds and life’s chaos aren’t a struggle. It’s filled with everything I would ever need product & horse wise, and all the features I lust after, ideally it supports my ideals, beliefs and is an extension of my horse girl dreams. I’ve called it “Metropolitan Stables”, and today we’re going to talk lessons.
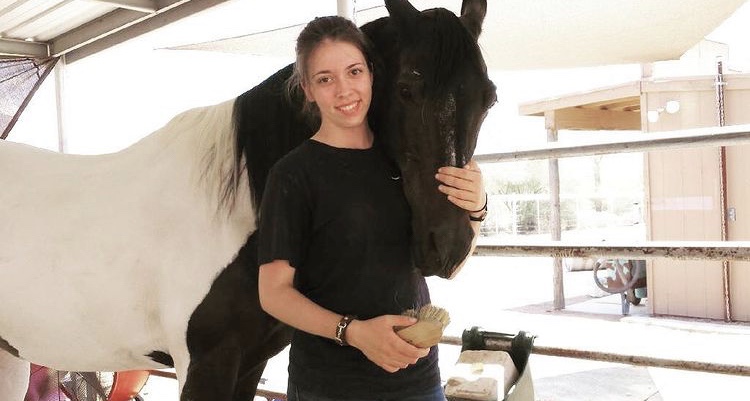
I started taking lessons back in 2009 on a cute chestnut gelding named Master. He was a jumper with a huge face, and he was the greatest teacher I could’ve asked for. I have a few photos from that first lesson, but the one of Master above in all his post work glory is enough.
That being said a lot of what I learned then, I’ve applied to teaching my lessons today.
I have spent the last year and some change teaching lessons of all ages, disciplines and with a variety of goals in mind. I’d like to think that gives me a little ground to stand on when I break down how the ideal first lesson would go for me at my barn and why.
First things first, my students will get their own horses ready for a lesson. While it might add an extra hour onto their lesson time, I believe all students should know how to handle, care and do day to day horse activities to be able to ride. If you can’t handle the horse on the ground, I unfortunately can’t trust you to handle them under saddle. This goes for applying directions I’m providing as well. If I can’t trust you to follow directions on the ground, I can’t have you mount up for the day.
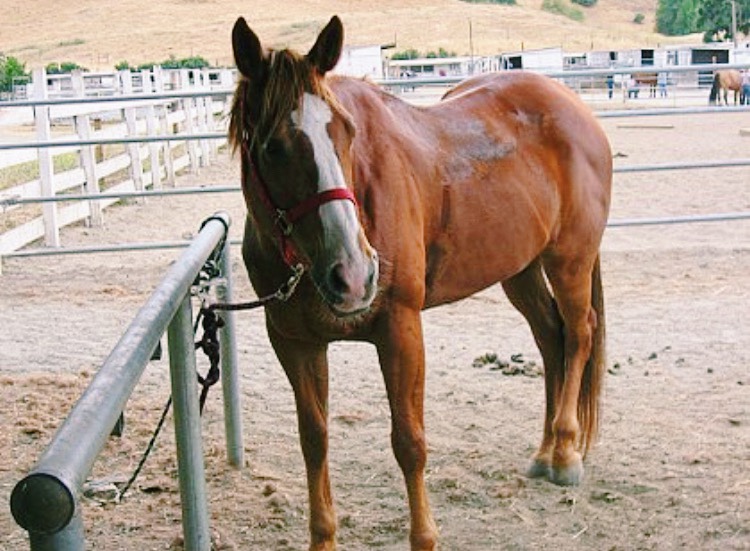
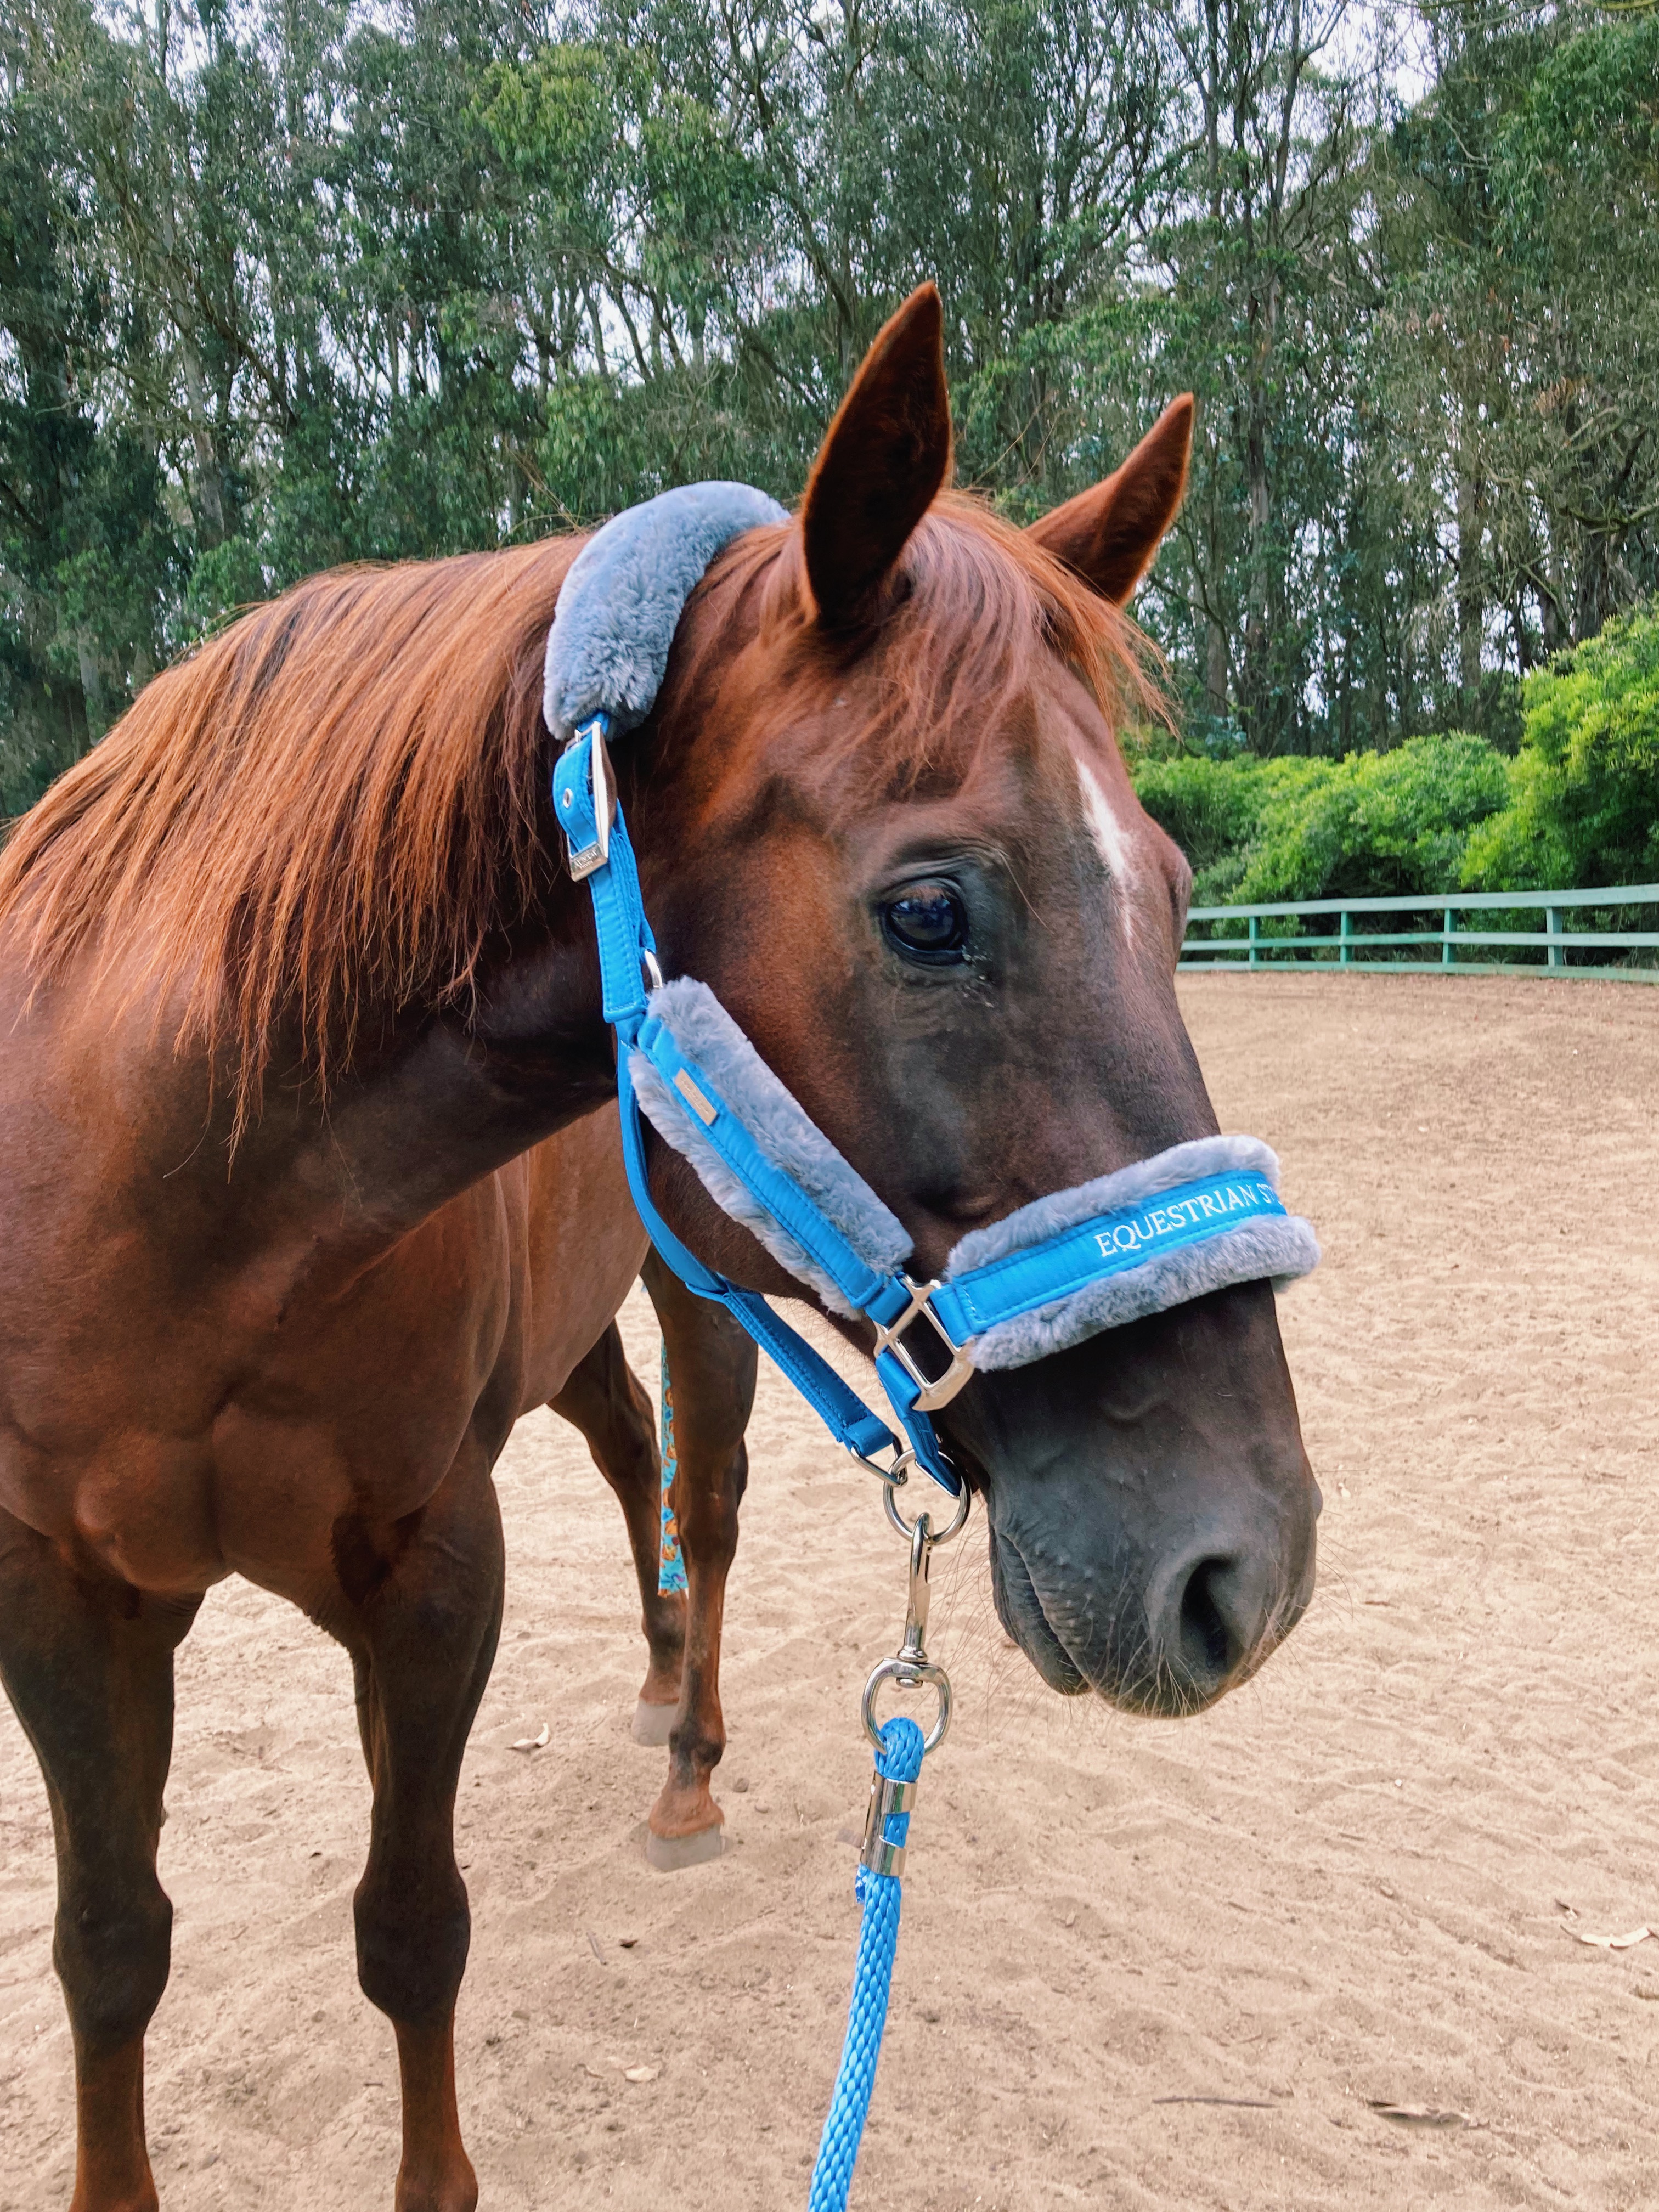
My horses ideally would be in a pasture or a paddock and my students would need to catch their horse for the day. Every horse should have a halter that fits them properly, it should be labeled in case it’s misplaced, and it should be able to break off in an emergency, lead rope included. As cute as my $90 Equestrian Stockholm halters are, I understand they are 110% disposable given how unpredictable life can be. Horses are fight, flight or freeze animals and anything can happen.
That being said, all students will learn my tips and tricks for catching any horse. I always have them talk around the horse as they come up to them, just so they know you’re coming and so they might make the whole catching process easier and just come to you.
I lead the halter process by throwing the lead rope over the neck so you can grab it like a collar around the horses neck should they decide to quit and walk off. You can still lead and steer a horse with just neck pressure. From there, I take the halter crown piece in my right hand and buckle in my left and guide the horses nose all the way in. This gives me the ability to pull down to get their head a little closer if needed. Downwards pressure on the noseband encourages them to drop their head so we can toss the crown piece over to the buckle to latch, completely.
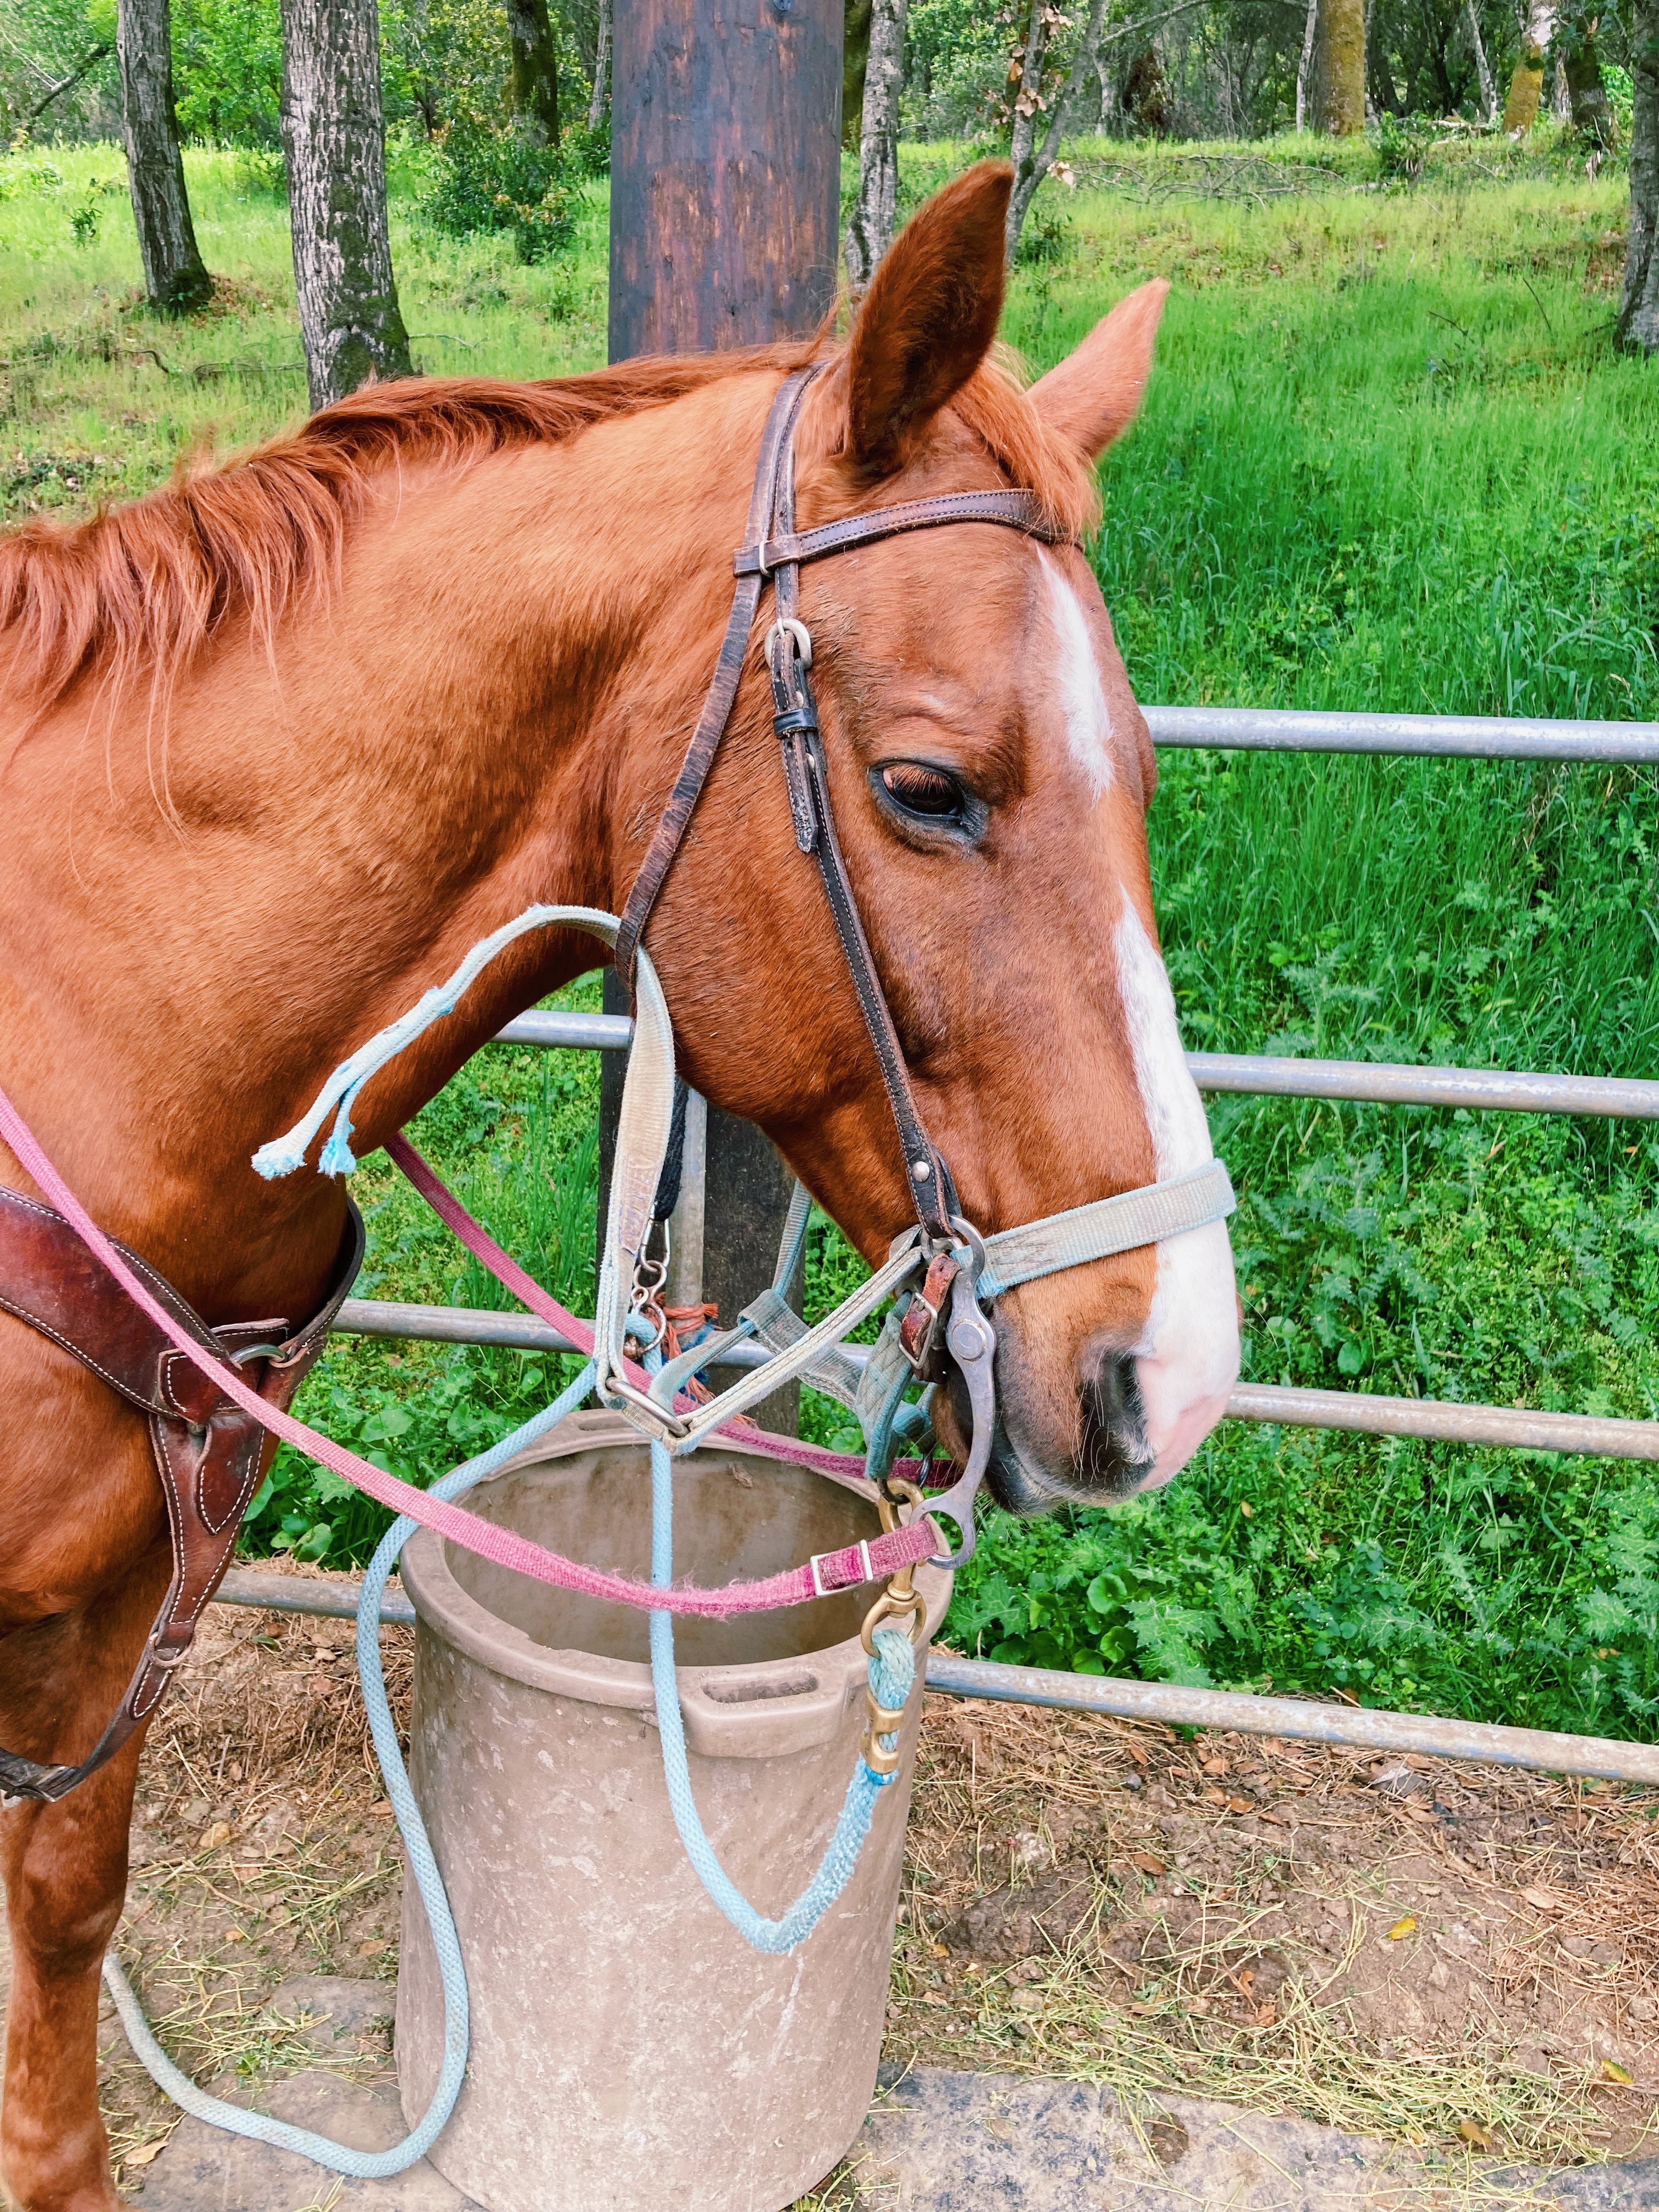
I say that knowing a lot of us will leave the tail end of the crown piece sticking out of the buckle for ease of use, but I will forever preach using my keepers. Just the other day I had a halter slip on Warlock midday under a bridle during lessons and trails proving my very point. Besides the dangerous situation that could’ve led to, leaving your tail ends sticking out looks madly unprofessional.
Once the horses are caught my students will find their grooming station. Whether they are tied, using a blocker ring, cross tied etc, the students will learn how all of the above work, and how to safely break a horse away from each tie in an emergency situation. At this point they will pull off any fly sheets, blankets, wraps and other unnecessary stall wear. Ideally this stuff should be left neatly at their grooming station for just after their lesson.
After this and all grooming tools have been located for easy use, I begin by picking my horses feet. This gives you as the rider and trainer the opportunity to find any issues of the hoof pre ride. Theoretically, if your horse has an issue with their foot and you’ve put in all this effort to get them ready and then pick their feet to reveal a problem, you’ve wasted a lot of time and could’ve started on the path to recovery instead of lesson prep. No hoof no horse is a good reminder. Plus I like working from bottom to top as it matches my grooming priorities day to day. If the horse has front shoes I require bell boots. It’s a simple preventative measure for an expensive pedicure for our horse companions. Pulling a shoe on average is a $40 farrier bill, in an effort to avoid that we slip on protective foot wear and call it a day.
From there I start currying the heck out of my ride. Currying wakes up the skin and increases surface blood flow helping aid in the horses overall warm up before you even set foot in your stirrup to start your under saddle warm up. If I needed help with the m curry process, I would’ve sprayed some Purvida Conditioning Spray on the horse and given another style of curry comb a try before moving on. I use rubber curry combs, hose attachment curries, metal curries for shedding, hand curry mitts and more. This is the number one grooming tool that helps with the horses genuine exterior condition, I think. Currying helps bring up all the dirt, loose hair, skin/dandruff while also spreading the horses natural hair oils from hair to hair. The circular motion in either direction of the hair helps with the coat maintenance that leads to an even beautiful show coat. Which, might not be everyone’s goal and I get that, but constant quality care day to day makes getting show ready that much easier.
From currying I use a hard brush to get the bulk of the mud, loose stuff from currying and the hair swept back into its original general shape. I tend to use a hard brush for the horses who like to use their poo for shoulder and hip supports. Be careful that some styles of hard brush are quite abrasive and your horse might not like that kind, so feel free to play with different ones.
After the bulk of the loose stuff is gone, I move onto a flick or soft brush to really get the horse looking back to normal. The flick brush does a great job of brushing the dirt off the horse while laying the hair back as it should rest. The soft brush brings up the finer dirt and dusts it away for the same affect magnified. If at this point you aren’t absolutely satisfied with the state of your horses coat apply some Eqyss Marigold/ Eqyss Avocado Spray, some Purvida Conditioning Spray and or a sunscreen of some sort to your horse with a finishing brush to get the daily gleam to really come through.
Once the coat looks good I throw some detangler in the mane & tail hair, I reach for a mane and tail brush and begin working my way bottom to top through the tangles. If that’s too much brushing for your liking, you may finger comb it or straight comb through the hair as well. I wouldn’t expect braiding, but I would allow simple or fancy braids/plaits if the student has the time and wants the practice. Hair management is a huge thing of mine. Seeing as I dedicate so much time and money in hair supplements, not supporting the inner growth with exterior care actually leads to no growth so I stress it as much as I can. Besides coming to a lesson with fairy knots in the mane and shavings in the tail is again unprofessional. I would not be able to show up to work in my pajamas, so leaving our horses wearing their bedding and bedtime hairstyles reflects just the same.
When I comes to tack, again each horse needs to have well fitted, labeled tack. This is to make life easier for the rider, trainer, and or horse owner during the tacking process. I stress the fit of all tack just like I would stress the fit of someone’s pointe shoe for ballet or even just the average shoe. If you know how uncomfortable rubs and blisters can be, understand saddles and other tack can rub just the same on our animal companions.
I prefer to use fancy PS of Sweden and Equestrian Stockholm saddle pads, but will also opt for the usual Dover Saddlery pad. With all of them and my saddle I will use my billet straps, keepers and situate them to accommodate the anatomy of the horse we’re working with. Making sure to point any notable anatomy features out to the rider explaining why certain tack choices were made for them before moving to the next piece of tack. I make sure the student understands the placement of the saddle in relation to the girth straps, the belly/armpit of the horse, the reach of the shoulder and the withers with gullet clearance.
In terms of bridles, each horse has a different way of communicating and accepting information through the bit and because of that I will always fit them to the best suited mouth and headpiece. I again would love to have all my keepers done on a bridle and a steady consistent and safe method for bridling. After I clipping my lead from my halter, I toss the reins over the horses neck to act as a collar again. I take my halter clean off the horses face and pull it back to latch over their neck as another collar in case they leave during the bridle process. That means we have two ways to grab and control our horses just in case. From there I put my right hand over the top of the horses head reaching for the crown piece of the bridle and simultaneously guiding the bit towards their lips with my left hand. I let my left thumb tickle the inside of their mouth to open their jaw, and pull upwards with my crown piece hand to secure the bit in the mouth once the teeth open up. The right hand should be able to control how high the horse is pulling their head up if they decide the bridle isn’t on their agenda for the day as to avoid any giraffe moments during lesson prep. Once the bit is set, I tuck my fat right ear in first and then the left, I pull all the forelock out and make them look pretty again and do up all buckles and keepers to their correct size and hole. You can remove the halter and hang it for later, grab your helmet and head off to the ring for your lesson.
If your horse required extra tack items like brushing boots, polos, bonnets, fly masks etc I would teach them why that piece was needed, but otherwise this is standard practice for me. The student would learn how horses breathe when they take a step and why that matters in relation to mounting after tacking. If your horse is now smaller than the setting on your tack your going to step into a loose saddle and roll off your horses back, so we always do a cinch/girth check before stepping up the mounting block. We also do an initial stirrup length check, and set up for our ride.
For the mounting process I have my reins in my left hand, right hand on the back of my saddle while I slip my left foot into the stirrup. I am going to swing over my horse like a bike and sit tight while my right foot slips into it’s stirrup. My horse should stand quietly for this process, allowing me to adjust as needed.
From there I need each rider to understand each lesson is the equivalent of a gym visit. That means if you need a 10-20 minute warm up, your horse does as well. It’s been proven that that warm up time at a walk really wakes up tendons and muscles preventing any soreness or stiffness during work or after use. Overall allowing the horse to accept harder workloads and prevent injury. So I set up steering obstacles and have the rider do active out of saddle exercises to target rider balance, strength and stamina as well.
My riders do not get out of this beginner phase until they can complete these tasks with clear application of direction and without genuine struggle. They’ll work on this at their own rates and progress to the next step whenever knowing that they can rock horse prep, mounting, warm up and basic riding stuff. All of which is part of my teaching and learning experience lesson wise.
I expect that they’ll apply the things from the lesson they had to their next ride and next lesson including horse care critiques. I accept questions, hypotheticals and review questions from students, but it can’t impact time flow lesson wise. This teaches the kids how to find answers to their questions through other resources provided at the barn or people more experienced than them which forms an important connection and ultimately a barn community for them to fall back on as needed.
Here’s to continuing to lay down the foundation of Metropolitan Stables one step at a time.
